May 21, 2013

It's...Arrested Development

We are clearly all freaking out that Season 4 of Arrested Development will be released in just a few short days.  Once Sunday hits, no one will be leaving the couch to think about such inconsequential things as themed snacks, so get your Banana Stand treats ready now and be done with it!

First, grab some bananas faster than Mr. Bananagrabber himself.


And cut 'em up into bite sized pieces.  Then put them on a plate covered with parchment paper, and freeze them for a couple of hours.


Next melt some dark chocolate with a little bit of peanut butter, and pull your banana bites out of the freezer.


Then just dip your bananas into the chocolate, and place them back on the parchment to go back in the freezer.  I topped some of them with chopped peanuts--yum!!!

Now all you have to worry about come Sunday is how to cram in all of the episodes before work on Monday morning...I believe in you! 


May 20, 2013

My Favorite New Blog

I have to share my new favorite food blog with you.  But a word of warning first:  this probably should not be read at work, shared with your kids, or passed on to your parents (unless they're very cool and laid back).  The blog just won Saveur's Best New Food Blog award, which is a pretty huge honor.  It's called Thug Kitchen, tag line:  Eat like you give a f***.  Like I said, your grandmother probably won't love it. I, on the other hand, do!

The recipes are primarily vegan, and the commentary is hilarious.  He shares the recipe for a Roasted Strawberry Salad and then tells you, "Eat a goddam salad. Eat ten! Brag about it!  It's like plant nachos!"  And really, who isn't more tempted to eat a salad when it's described to them as plant nachos...or when it's topped with succulent, balsamic roasted strawberries and toasted shaved coconut. 

He also makes other delicious things like Chickpea and Broccoli Burritos, Peanut Tempeh Summer Rolls, and Strawberry Grapefruit Margaritas!  Yes please!!!  Basically, I love him, and you should too.

http://thugkitchen.com/

Update on Avocado Toast

I made this for lunch yesterday, and it was so perfect!!

May 11, 2013

Avocado Toast

Okay, I have to admit that I haven't made this yet.  I stole it from Julie Yoon's blog, but something about it just seems perfect, and I don't know why we all haven't thought of it before.  Easy as pie, healthy, delicious (looking!) breakfast!  Just make some toast, top it with a smashed avocado and a few slices of tomato, and finish it off with salt, pepper, olive oil, and a squeeze of lemon.  Yumm!!!

May 8, 2013

Pan Fried Kingklip with Quinoa Salad


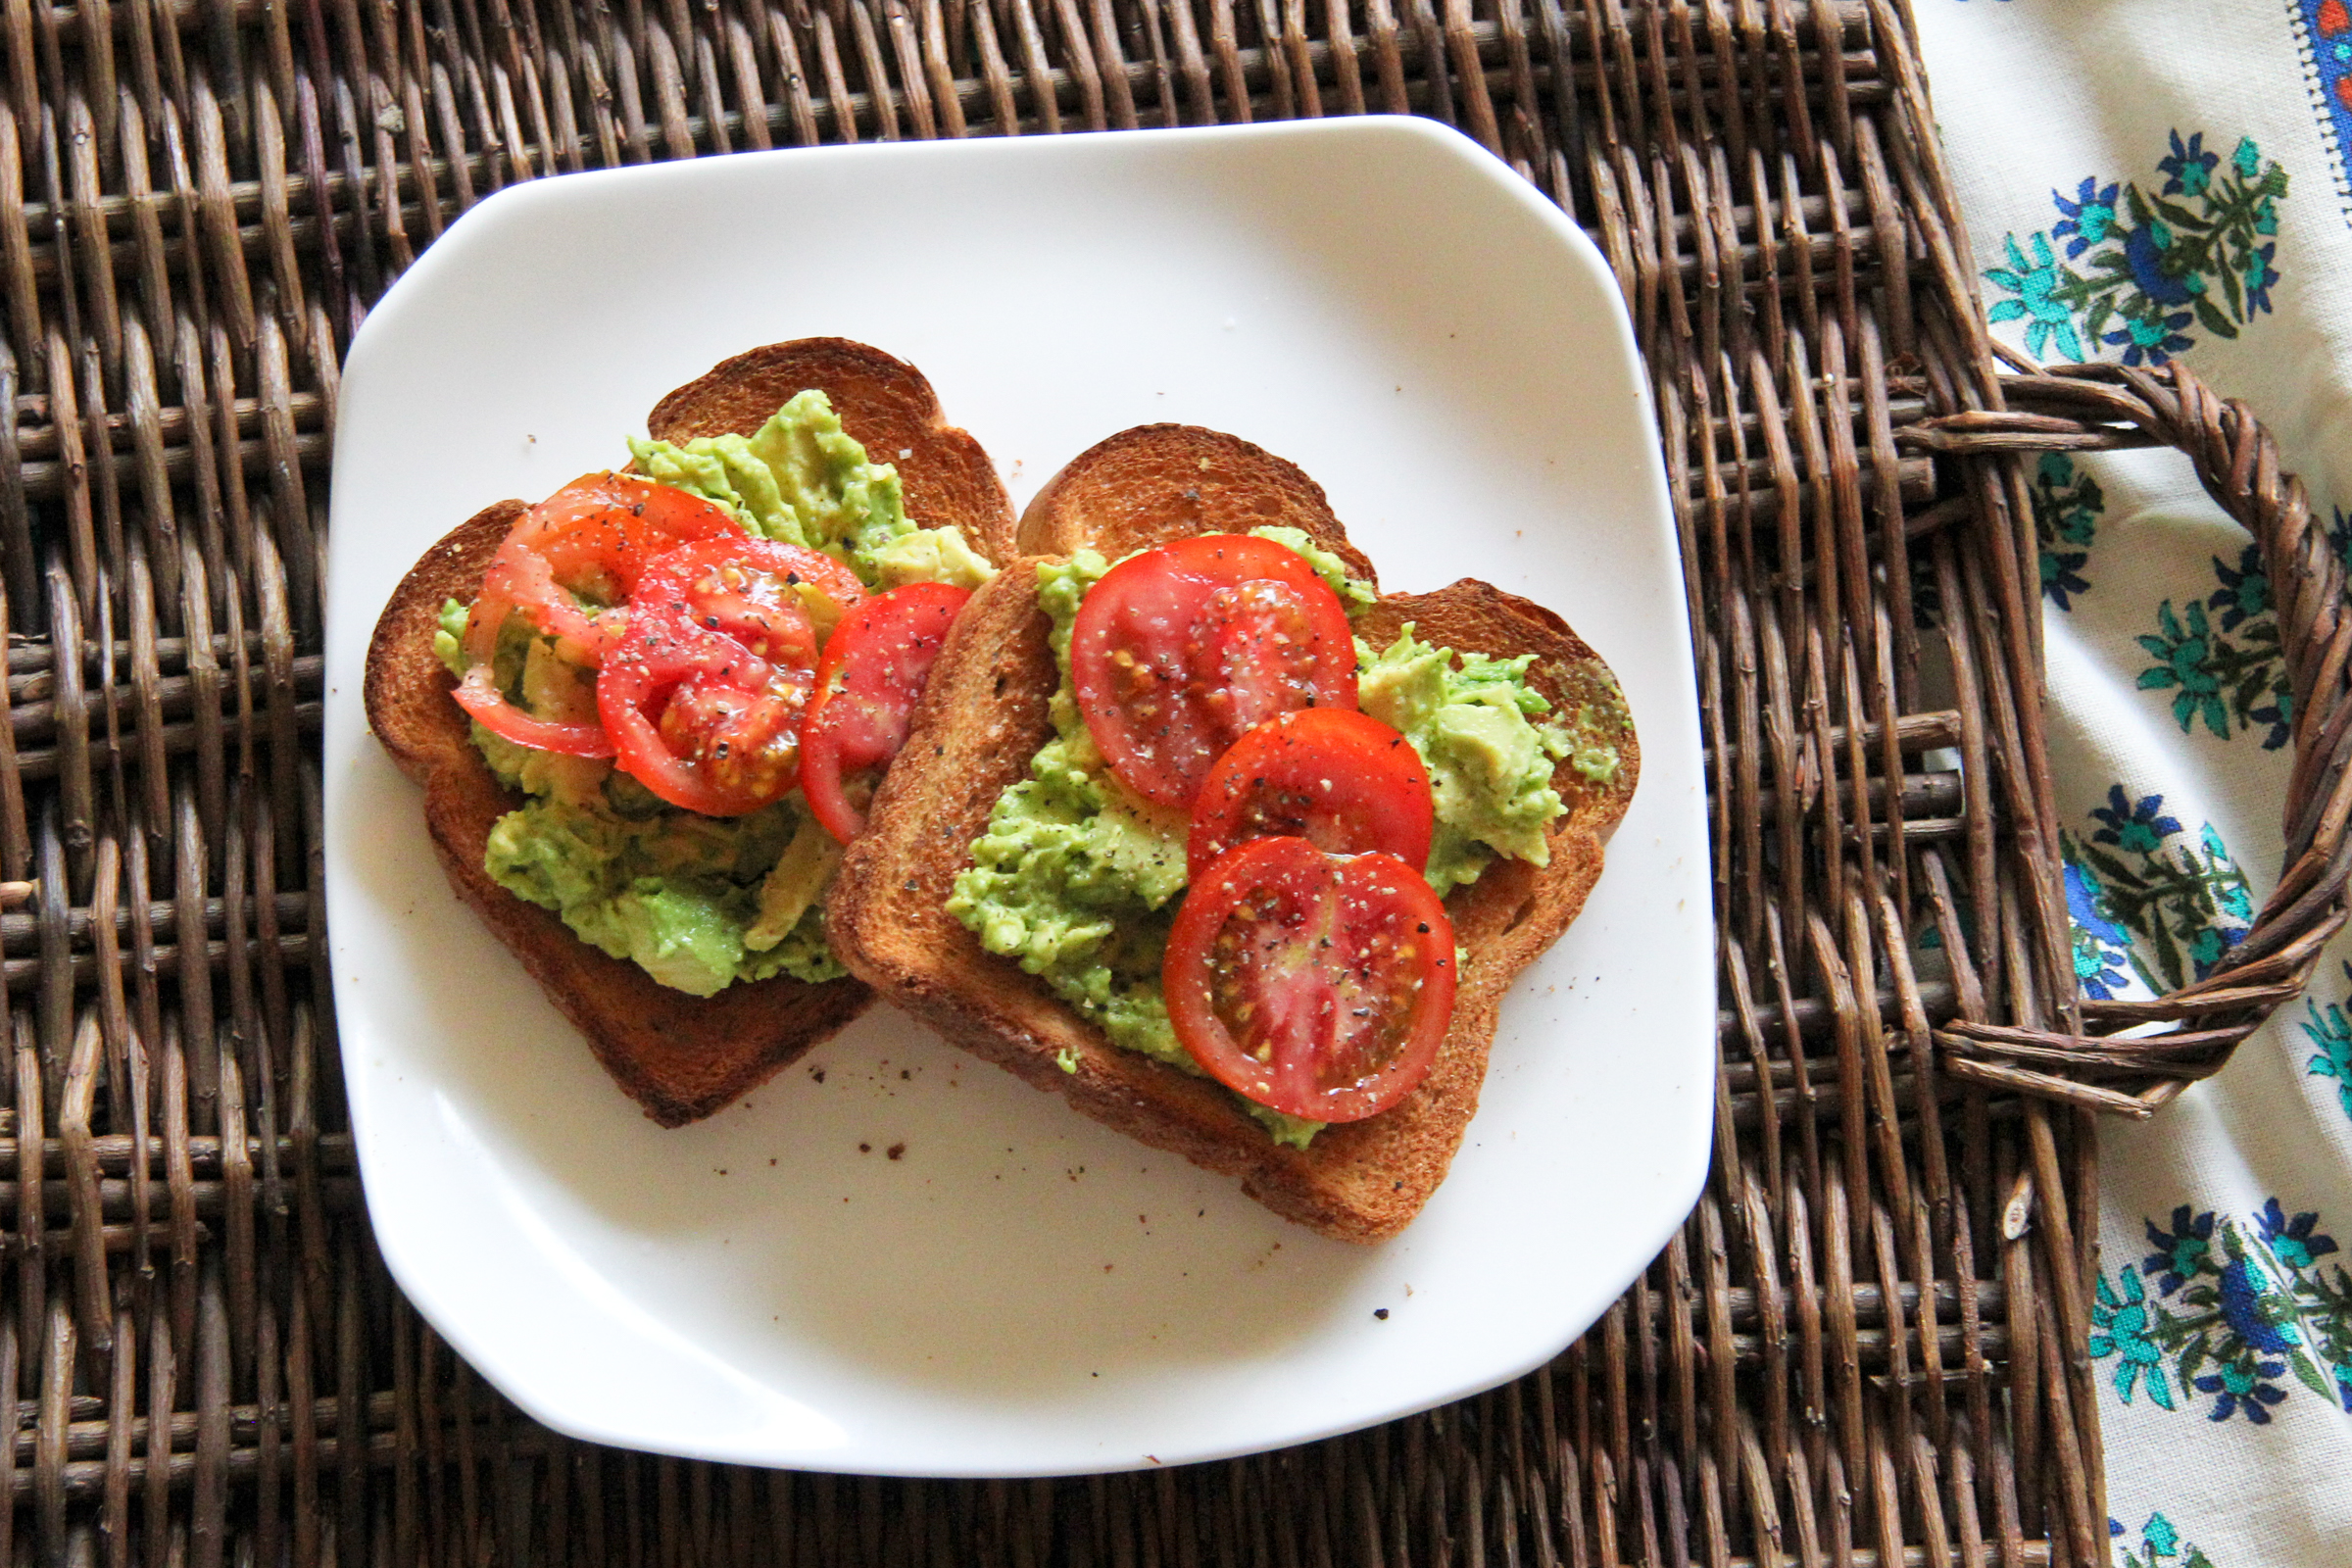
Any good chef will tell you to go to the market without a real plan in mind for dinner.  It opens you up to using whatever they have that looks best that day.  Let's be real, most of us don't the time to think about food this way, or a market for that matter, but when it does happen, it can be a great thing.

Yesterday I went to the grocery store with no plan in mind except that I really needed to make something delicious since William will be leaving for field school soon.  I started at the fish counter, where I spotted a gorgeous white fish that I had heard of but never cooked with before--kingklip.  From there I picked up some fennel, a couple of oranges, and a bottle of white wine, and I had a plan.


Pan Fried Kingklip with a Shallot, Lemon, and White Wine Pan Sauce
First, pull out your fish and let it rest outside of the fridge for a while.  You don't want to throw cold fish into the skillet.  While this is warming up a bit, get your dredging station ready.  I used GF all purpose flour seasoned with salt and pepper, a basic egg wash, and lastly GF breadcrumbs which I seasoned with red pepper flakes, grated garlic, and lemon zest.  After the fish is dredged, again let it rest for about 10 minutes.  This will help the coating really stick to the fish when it's cooking.

During this time you can get the ingredients ready for the incredibly easy pan sauce.  Just slice a shallot finely, cut a lemon into wedges, and open a bottle of white wine.

Next, we'll fry the fish.  Depending on the thickness of your cut, turn your burner onto medium high, and get your pan and canola oil nice and hot before adding the fish to it to ensure nice, crispy breadcrumbs.  Flip once everything is golden brown, and you're pretty much done.  Just remove the fish and let them drain on a paper bag while you make the sauce.

If there is too much oil left in the pan, pour a little out.  Then add a nice amount of white wine to deglaze everything at the bottom.  Add the shallots, and let them start to wilt.  Finish with a big squeeze of lemon juice and butter or olive oil, and you're done!  William Loved this!


Quinoa Salad
Until now I have only ever liked quinoa for breakfast, but now I'm a believer.  I think the trick for me was going the extra mile and cooking the quinoa in chicken stock instead of just plain water.  Here's how:  first make sure you wash your quinoa.  Measure it out, add it to a bowl, and fill it up with water.  Then give it a good shake around and drain it slowly.  Then add your quinoa and your chicken stock (1:2 parts quinoa to chicken stock) to a stock pot and let them come to a rolling boil.  Then cover them, and reduce it to a simmer for 15 minutes.  Finally uncover it, and if there is an liquid left or it just doesn't seem quite dry enough (it should be similar to rice) then let it cook at a very low temperature uncovered until it is just perfect.  Then set your quinoa aside to cool.

While that is cooking, get your other ingredients ready.  I added shaved fennel, shaved red onion, toasted almonds, orange supremes, mint, and a little squeeze of lemon juice, and it was AMAZING!!!  Seriously, I haven't stopped eating this stuff, which is fine because you can't get anything much healthier than this!

April 22, 2013

Blueberry Pancakes

Ok, I'm not sure that making pancakes from a mix should constitute a blog post, but when that pancake mix is a gluten free mix, some serious altering must be done, so maybe a blog post was called for after all.

Personally I'm a big fan of all things Bob's Red Mill. To this I added buttermilk instead of regular milk, melted butter instead of oil, and (here's the kicker) I whip my egg whites separately, and then fold them in as the last step. To this batter I also added lemon zest and vanilla extract. Blueberries were added during the cooking process, and what resulted were fluffy, bright pancakes that tasted so delicious the average bear would have believed they were chock full of our dearly missed gluten.

April 20, 2013

Perfect Green Beans

I heard this recipe on The Splendid Table on NPR last week.  I listen to the podcast when I go jogging in the morning; something about Lynne Rossetto Kasper's soothing voice as she talks about the best way to pour port or the joys of making your own soft tofu is the happiest way to start my days.  Last night I made her Greek-Style Green Beans, and they were unbelievably delicious.  As to avoid making yet another trip to the grocery store I substituted the whole tomato for a few squeezes of tomato paste right on top of the green beans (again not stirring), and they turned out perfectly.  They, and they alone, were my dinner last night, and I was a very happy girl.  I'll copy the recipe below...

Greek-Style Green Beans


I’d tell you to stick a Post-It right here because, once you try these, you’ll be making them often -- but they’re simple enough that after one time through, you’ll probably remember how to make them forever. These green beans are cooked to falling-apart-ness in what’s essentially a garlic-tomato confit. Every bite is imbued with flavor -- garlicky, a little hot, meltingly tender; the kind of good that, with your first bite, you close your eyes and grow silent.


The traditional Greek recipes in which this method is rooted use as much as three quarters of a cup of olive oil -- too much for me. The few tablespoons here give flavor and allow the green beans to caramelize. Pretty they are not, but with one bite that is moot. Back in my restaurant days, I once received a proposal of marriage from a guest on the basis of these green beans.

Pay careful attention to the details here. Technique is all.

Ingredients
  • 1 pound fresh green beans, tipped and tailed
  • Vegetable oil cooking spray
  • 3 tablespoons olive oil
  • About 1 tablespoon medium to finely chopped garlic (5 or 6 cloves)
  • 1 large fresh tomato, chopped (I go ahead and leave the skin on and seeds in; if you are fussier than me, remove both and use only the chopped pulp of 2 tomatoes)
  • Salt and freshly ground black pepper
  • A few dashes of cayenne
  • 1/2 to 1 teaspoon dried dill
Instructions
1. Blanch the green beans: Bring a large pot of water to a boil over high heat. When the water is boiling, add the green beans and cook for 2 minutes. Drain them well, then rinse with cold water, and drain them again.
2. Spray a large, heavy (preferably cast iron) skillet with a tight-fitting cover with oil, and set it over very low heat. Add the olive oil, scatter the garlic over it, and add the blanched green beans (in contrast to most sautes, the green beans are added when neither pan, nor oil, nor garlic, is yet hot). Scatter the tomato over the beans. Don’t stir.
3. Still keeping the heat as low as possible, cover the beans and let them just barely cook, without stirring, for about 40 minutes. I know it’s hard, but keep on not stirring; leave the heat low enough so that nothing burns. If you like, you can push a few beans back to check on the garlic at the bottom of the skillet. It should not be browning, merely cooking very, very slowly. Some of the beans will be browned on oneside, which is good. If this hasn’t happened yet, cover again and cook for 10, even 15, minutes more.
4. When the beans are soft, lift the lid and stir gently. It is unlikely, but if there’s a noticeable amount of liquid in the skillet, turn the heat up and, stirring gently but constantly, evaporate the liquid off. You want soft, barely-holding-together green beans. They should be slightly shriveled-looking and browned lightly here and there, with a bit of the garlic-tomato jam sticking to them.
5. Turn off the heat. Salt and pepper the beans, sprinkle them with the cayenne and dill, stir one more time, and serve. No, no, you don’t have to thank me.